Building this site
Introduction
This post summarizes the process to build this site. A few of the guiding principles were:
- Simplicity.
- Easy on the eyes (clean, uncluttered design and dark mode 🌙).
- File over app philosophy.
- Markdown rendering.
- Tags to categorize posts.
- Easy to host with GitHub Pages.
After some research, I decided to go with Jekyll and the Chirpy theme which support all the above out of the box.
Getting started with Jekyll+Chirpy
Install Jekyll by following the docs. Then, create a new repository (repo) using Chirpy starter as a template.
To host with GitHub Pages, ensure the repo is public and named as
<github_username>.github.io.
Then, clone the new repo, install dependencies and serve it:
1
2
3
4
5
6
7
8
# Clone the repo
git clone <repo_url>

# Install dependencies
bundle

# Serve
bundle exec jekyll serve
The site should now be running on http://127.0.0.1:4000/.
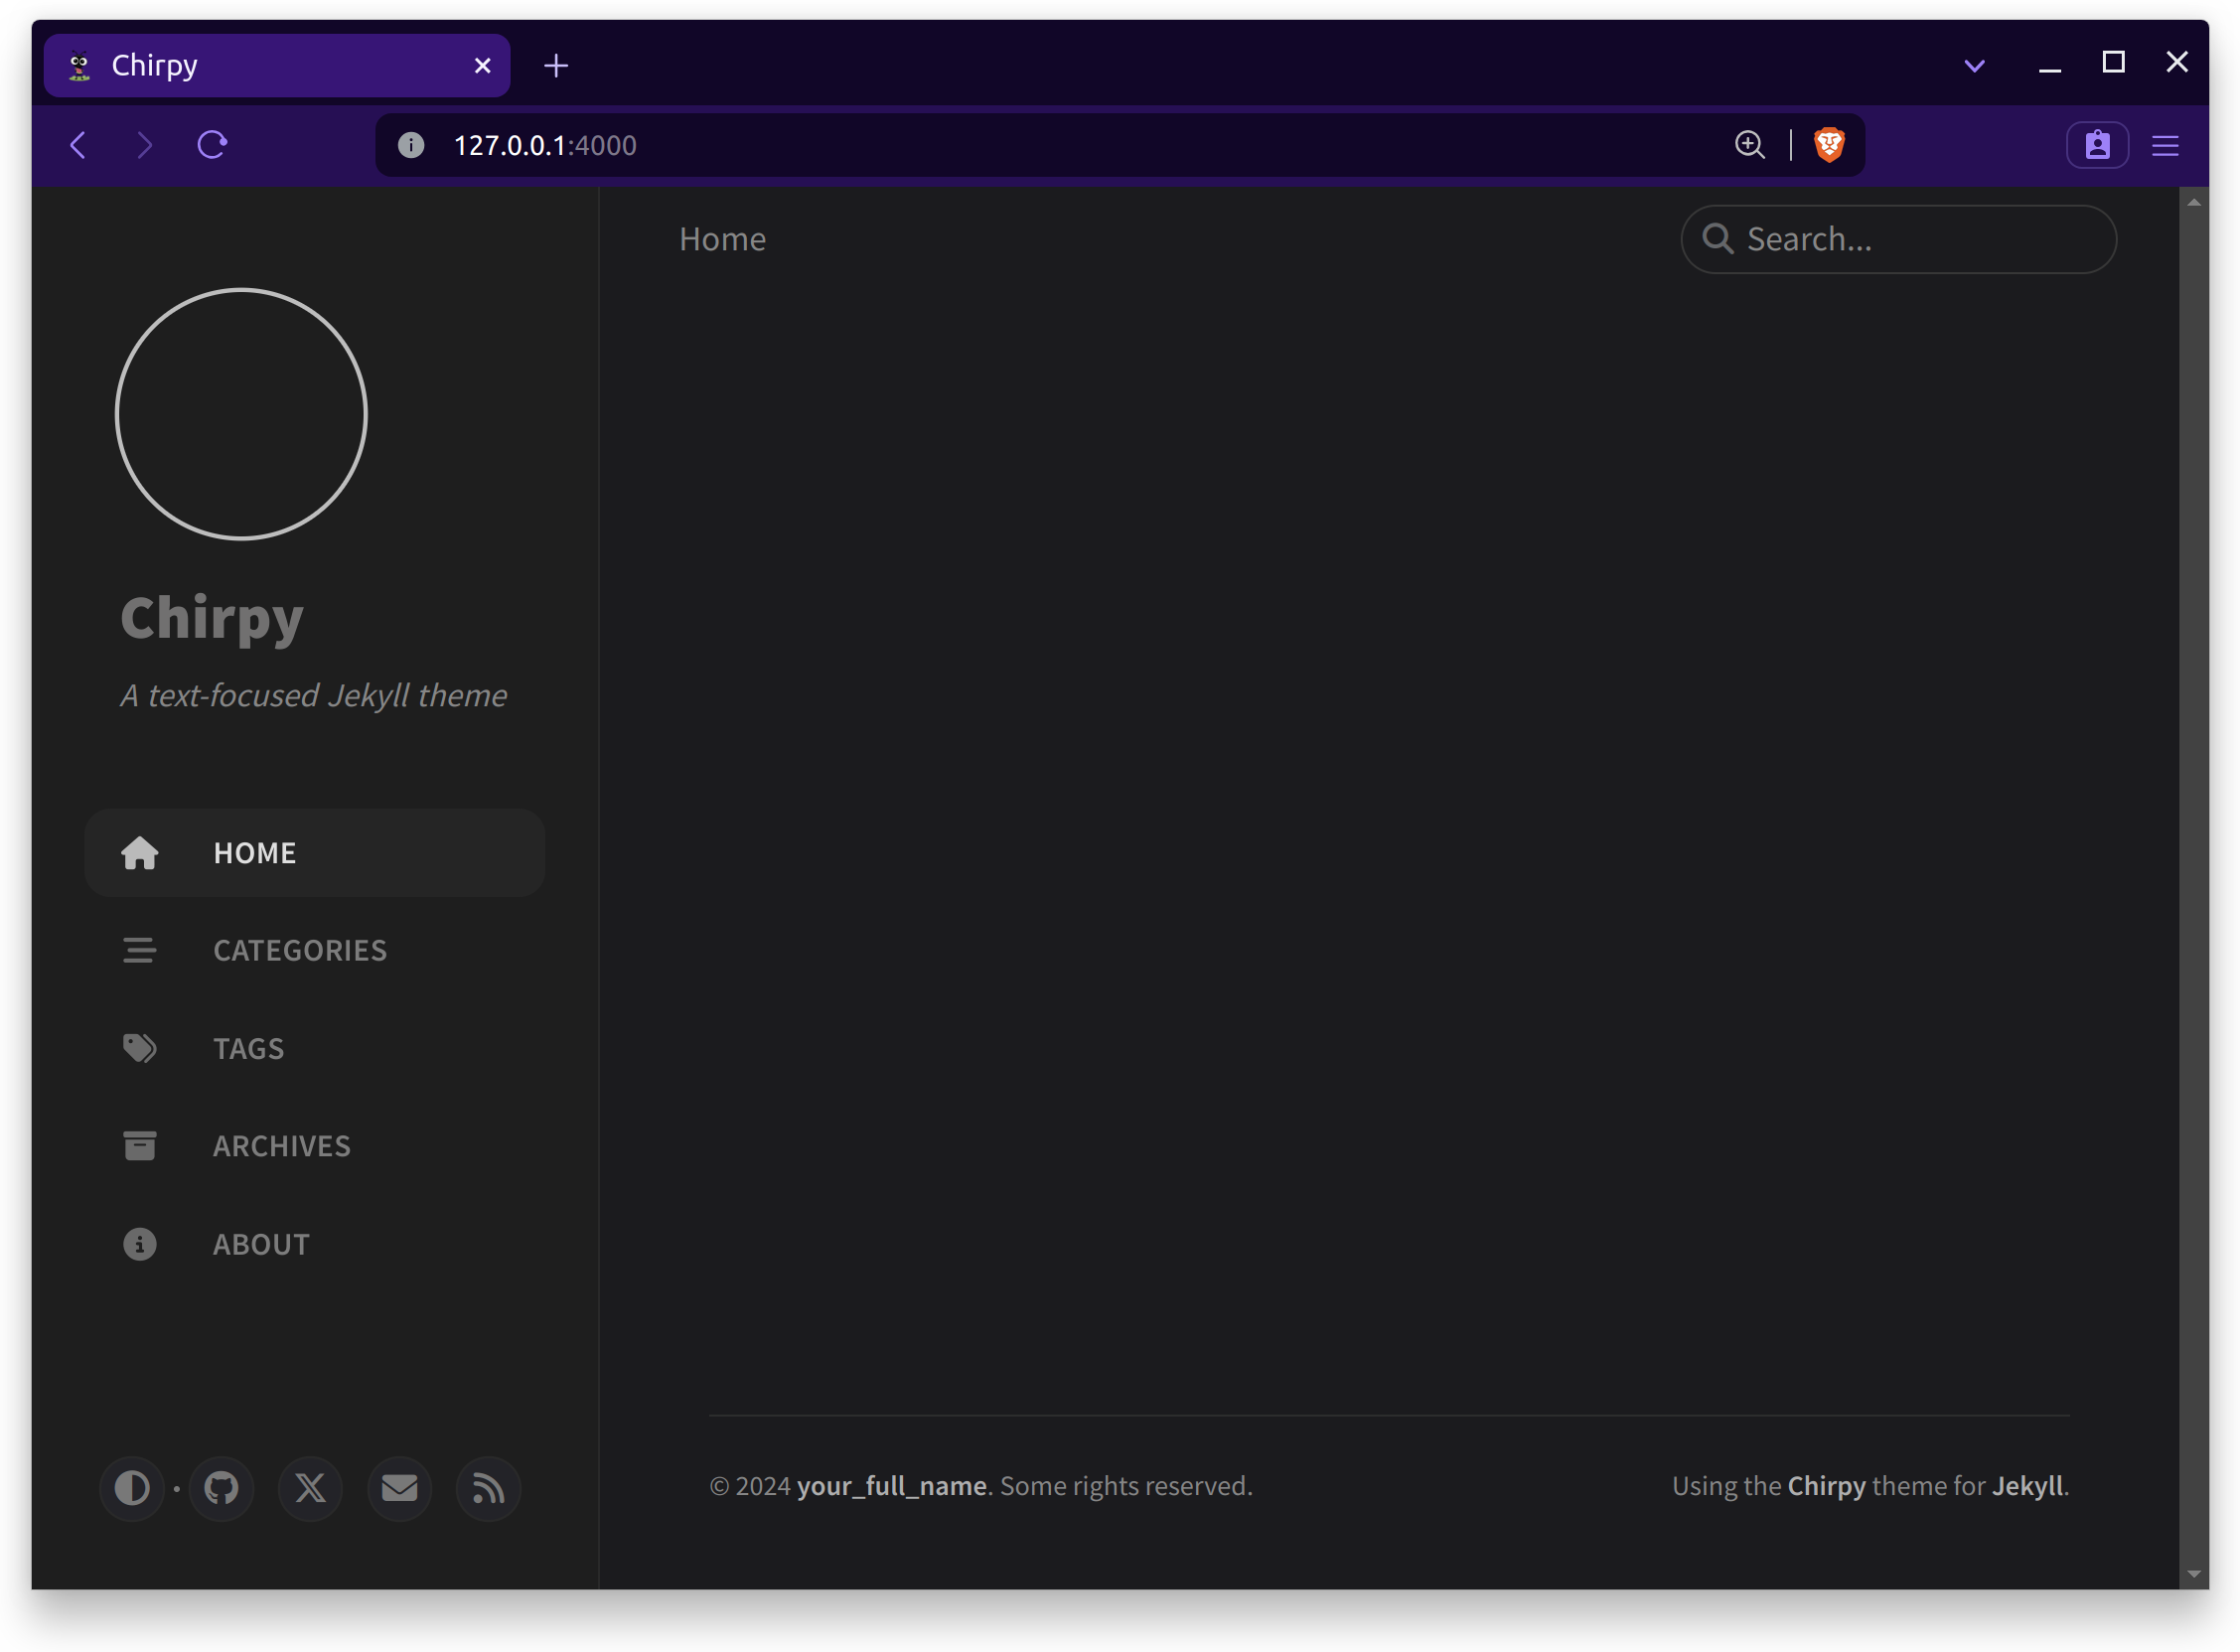 A fresh Chirpy site running locally
Make it your own
Now the fun begins. Things you can do1:
- Configure the site by editing _config.yml (things like the timezone, contact info, avatar, etc…).
- Customize the Favicon (see here).
- Start writing posts.
- Customize the site by adding new layouts or edit existing ones (for example, I added the “last updated at” date to the archives page).
Host with GitHub pages
GitHub allows hosting one site per GitHub account for free, directly from a GitHub repo. Again Chirpy does most of the work for us by including a GitHub Actions workflow in the starter repo which automatically builds the site when changes get pushed to the repo (an example of continuous delivery). Ensure the site is configured to publish with GitHub Actions.
Configure a custom domain
At this point, we have a fully functioning website, so this section is optional.
Say you own a domain name and want to use it for this site. GitHub has great docs on how to achieve this, but I’ll summarize what I did.
Verified the custom domain for GitHub Pages (GitHub recommends this).
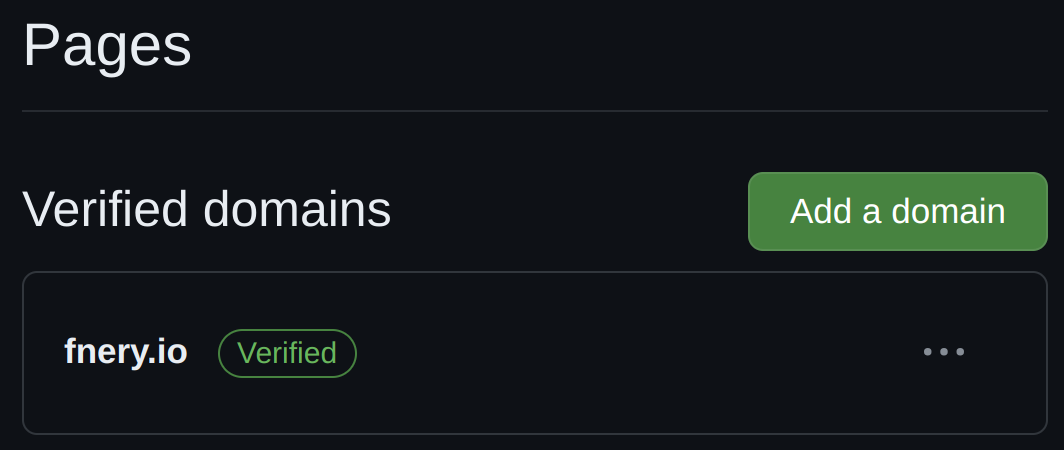 Confirming domain is verified (on GitHub account Settings > Pages)
- On repo settings > Pages, under “Custom domain”, set the custom domain (in my case,
fnery.io). - Created
CNAME,AandAAAADNS records on my domain provider (see figure below).
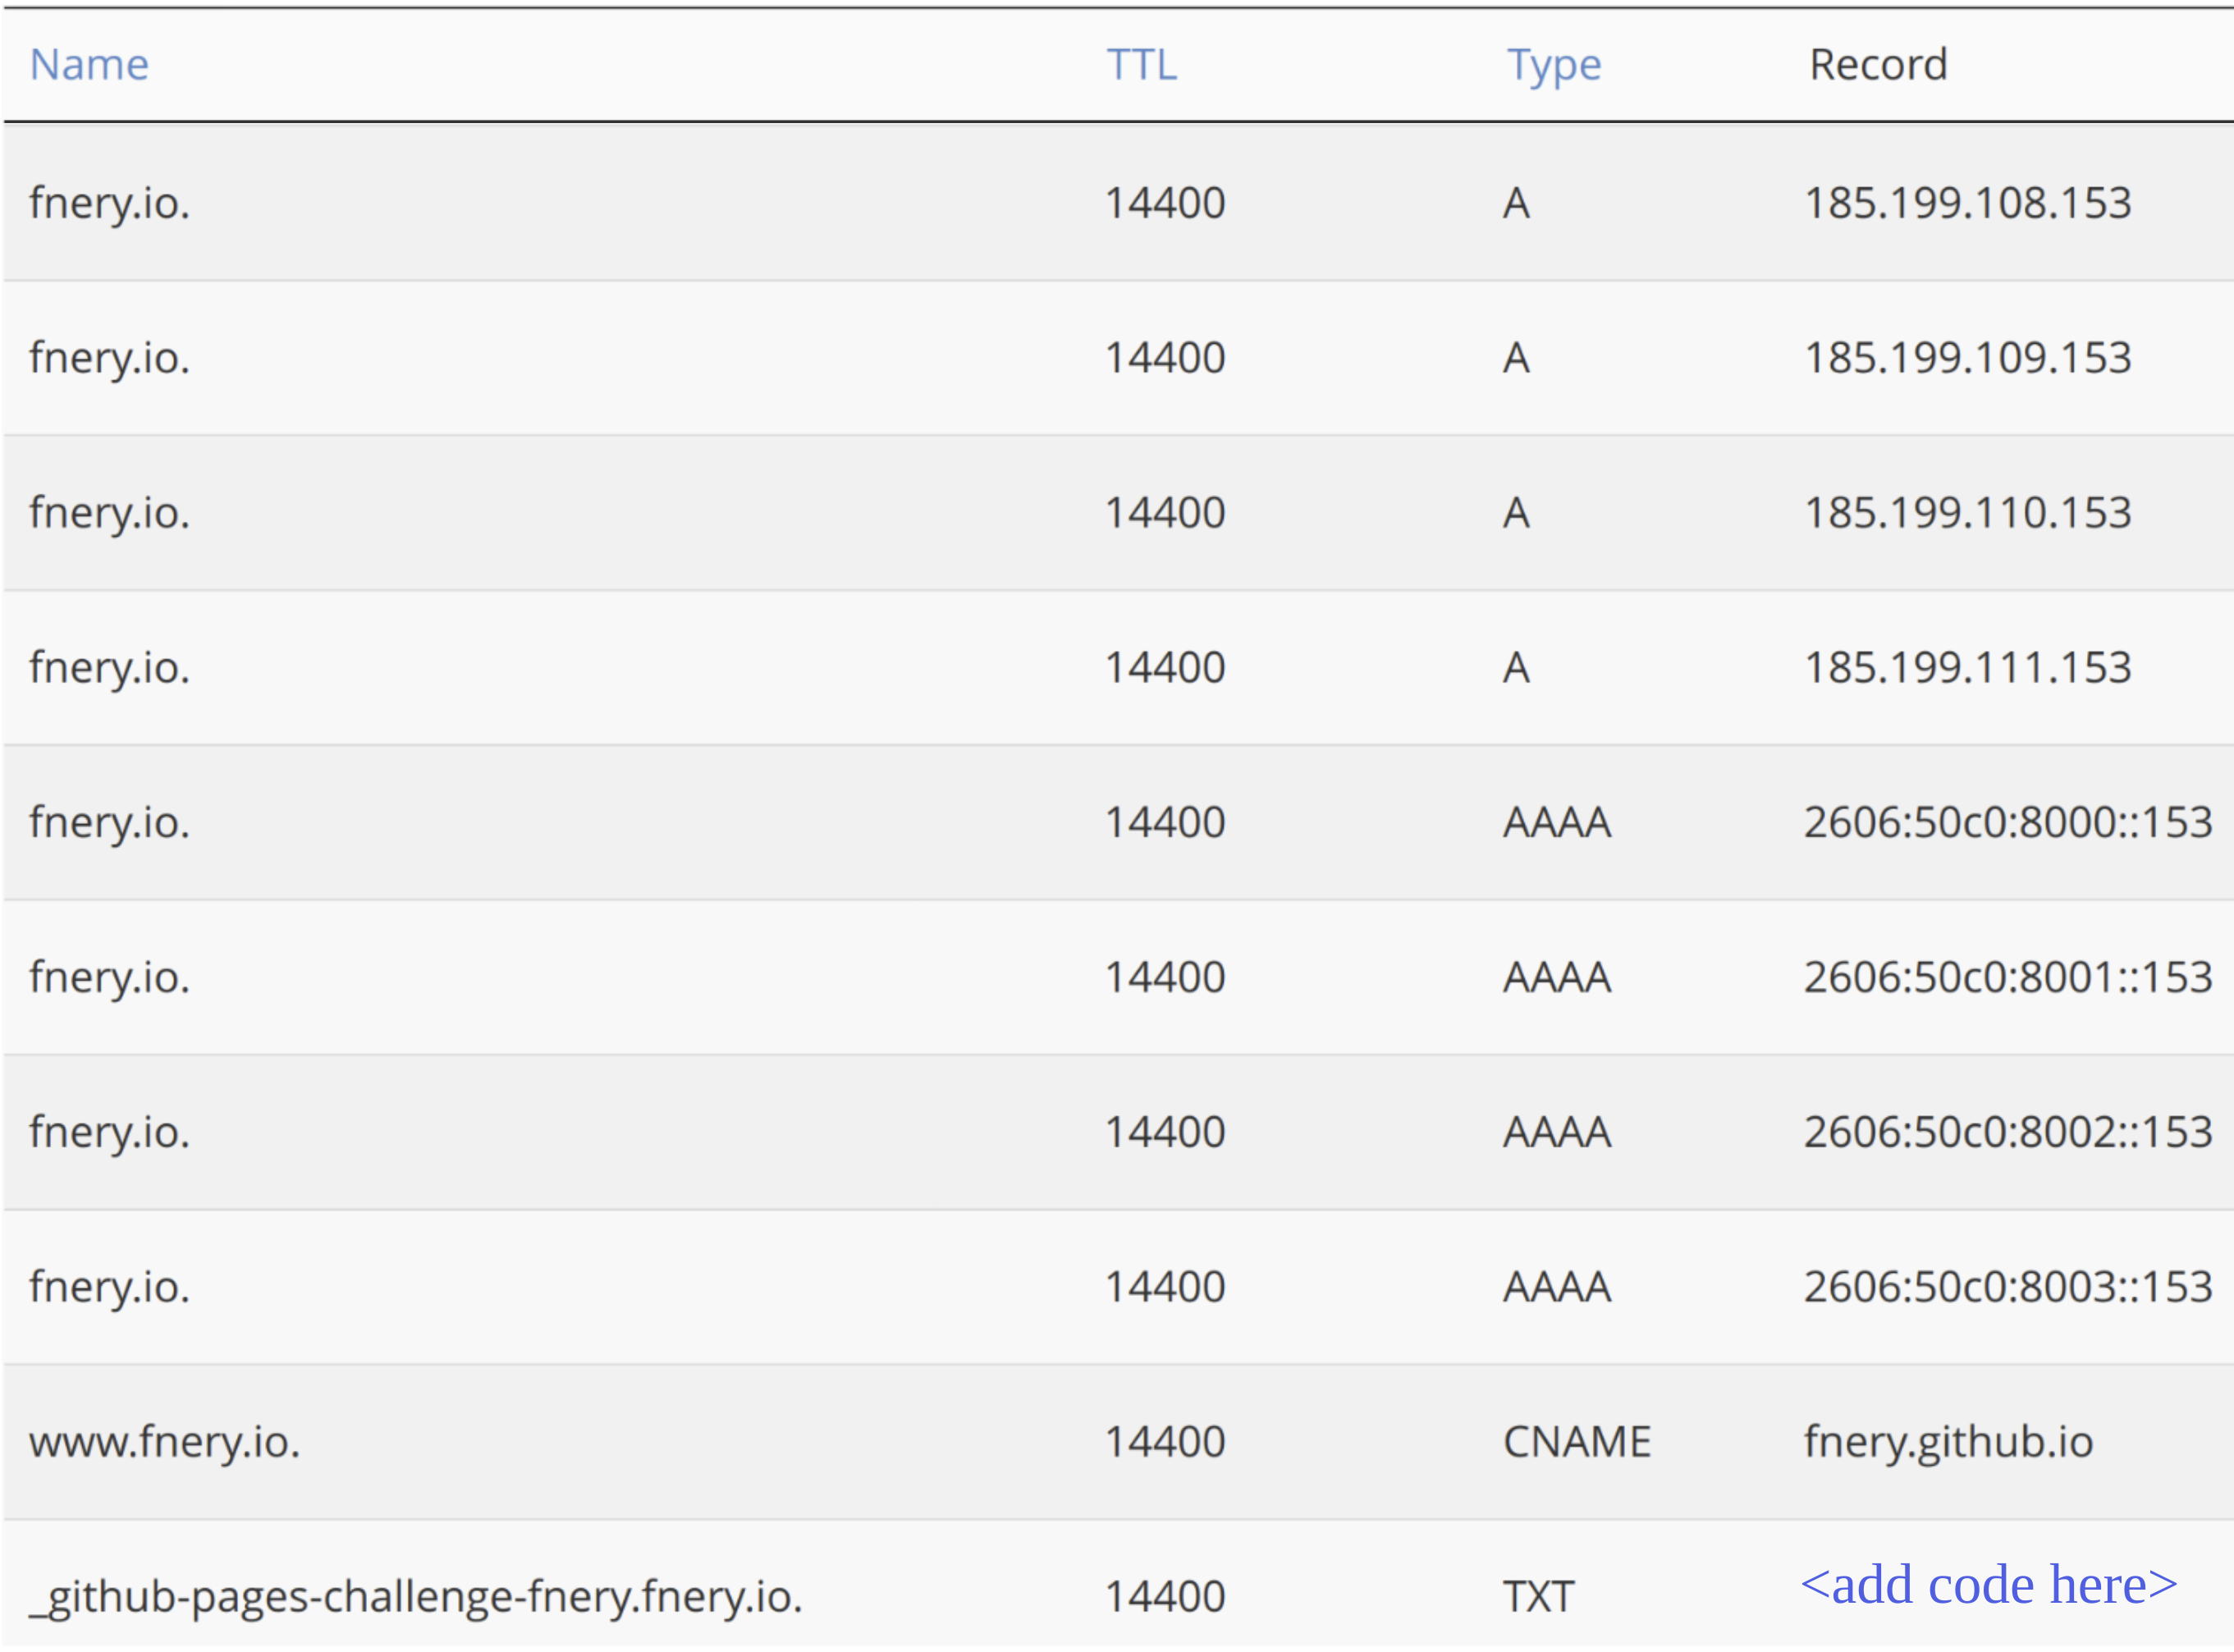 DNS records set for a custom domain (screenshot from cPanel > Zone Editor of my particular DNS provider, yours may look slightly different). The bottom row refers to the verification of the custom domain (the code can be obtained from the “Add a DNS TXT record” instructions on GitHub account Settings > Pages > Add a domain)
Once this is done, the DNS configuration changes can take up to 24h to propagate, after which the site should be available in the custom domain. Ensure you also enforce HTTPS on the repo Settings > Pages.
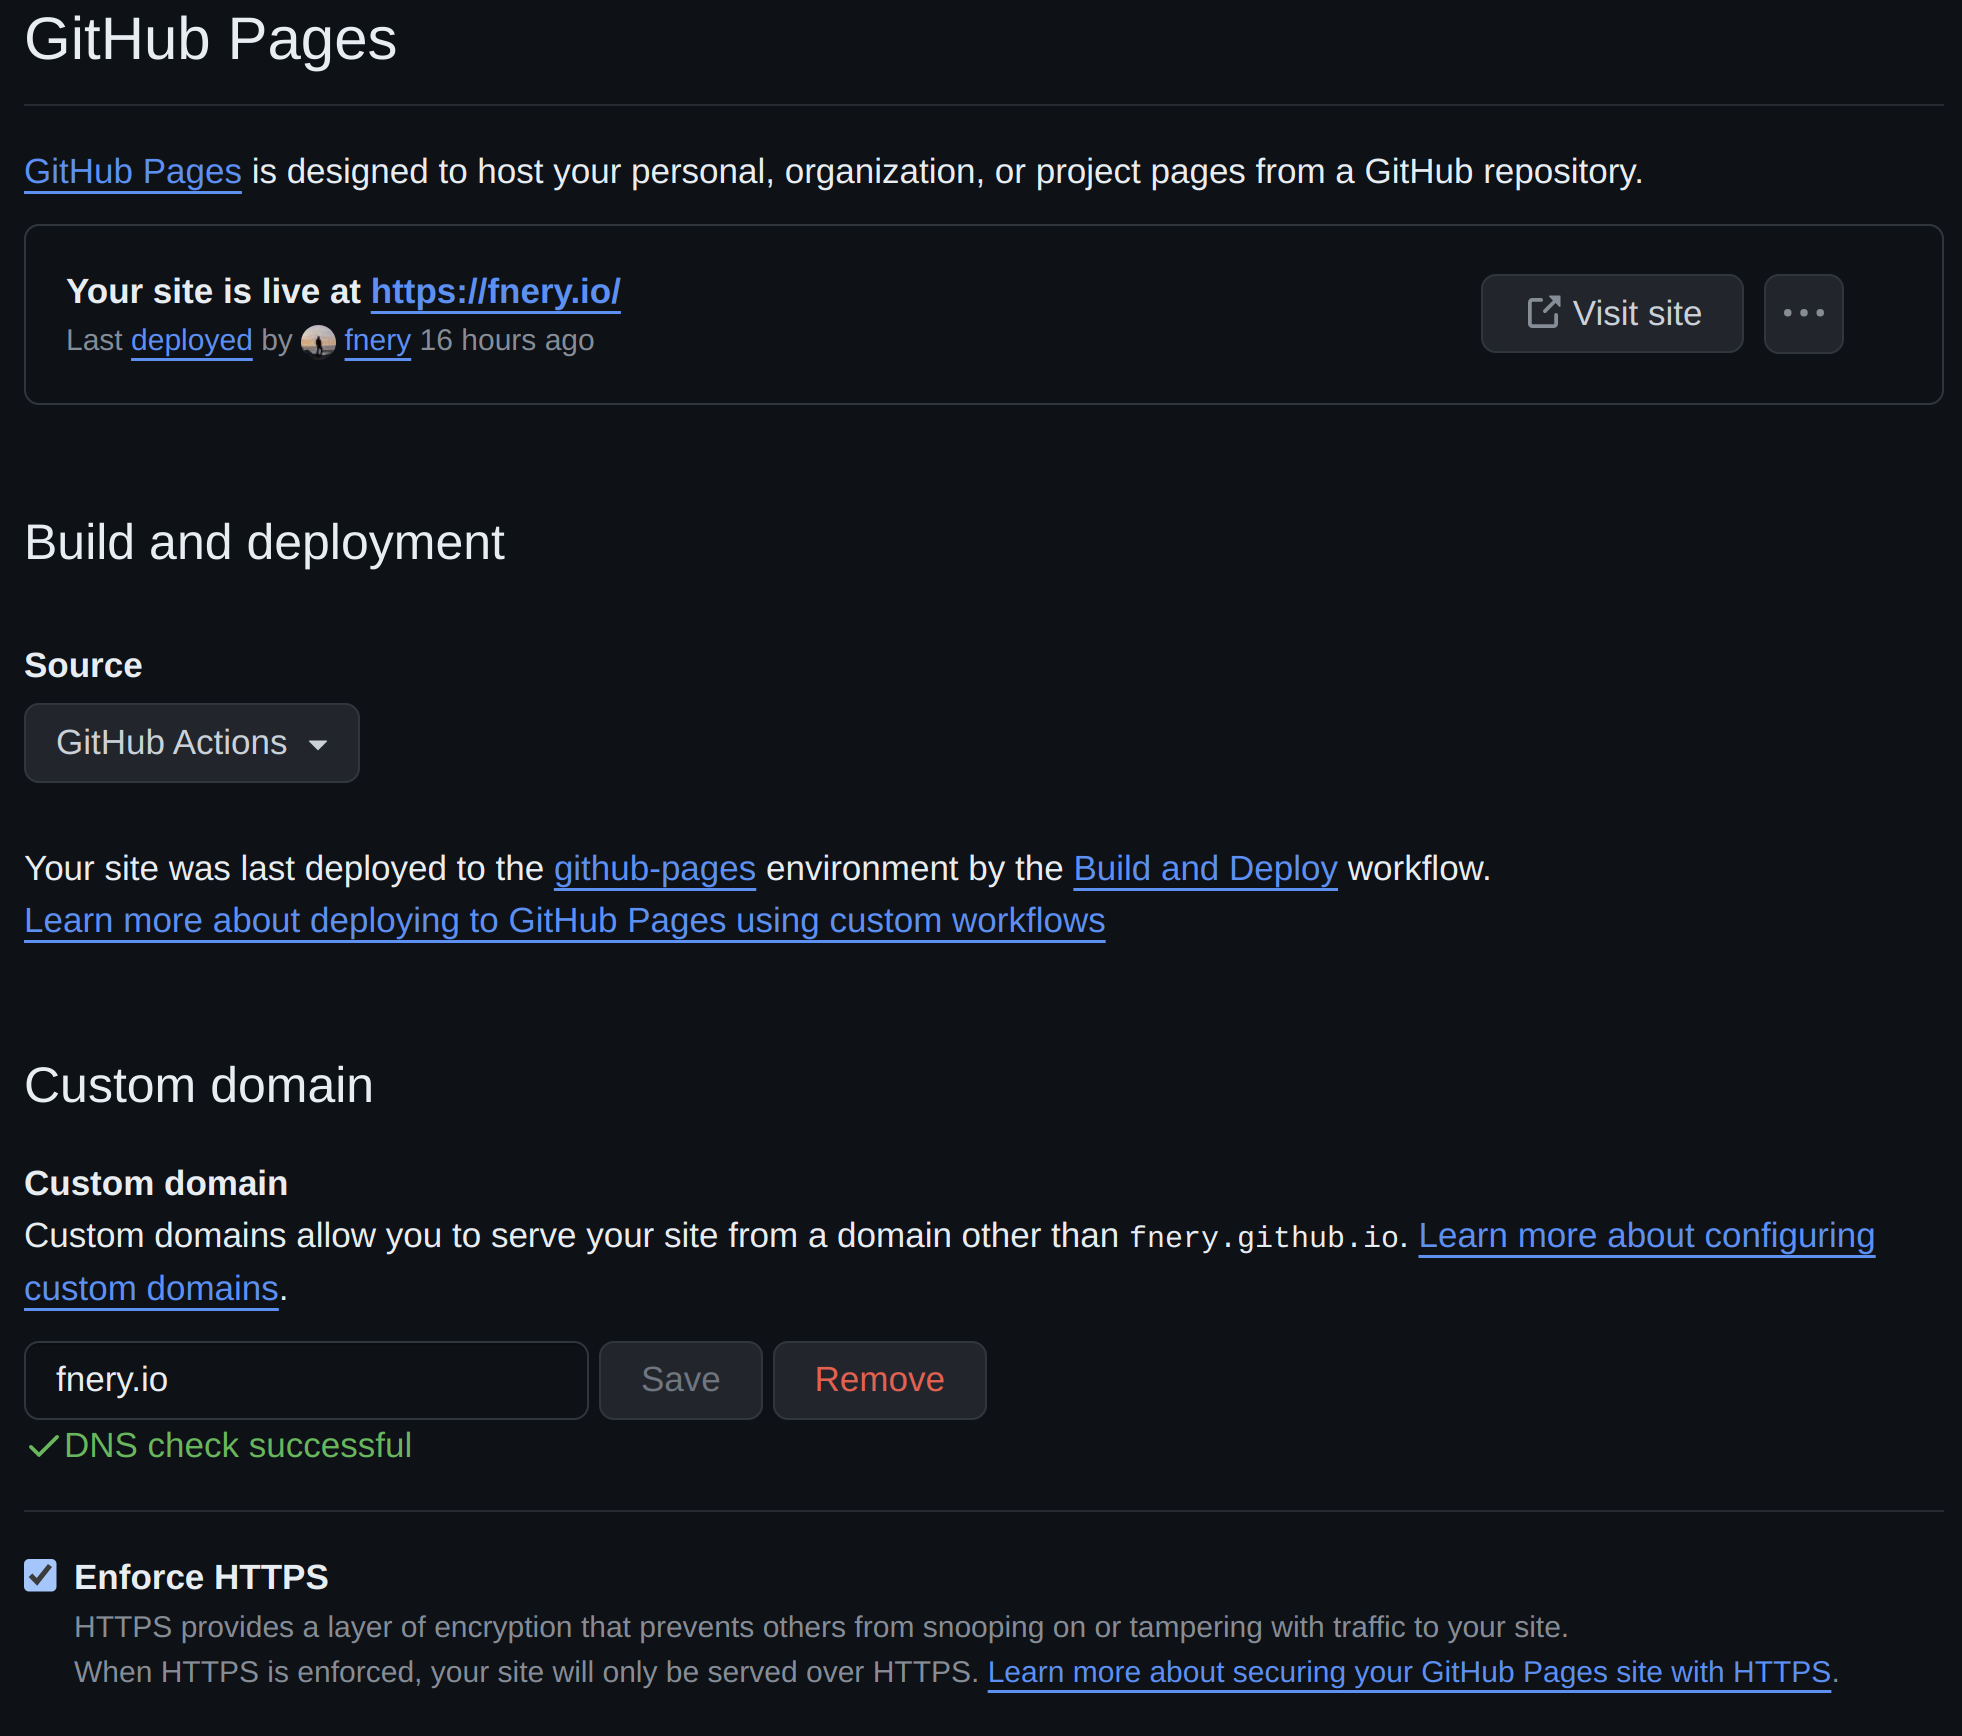 Confirming site deployed using GitHub Actions with a custom domain and HTTPS enforced (on repo Settings > Pages)
Conclusion
We reviewed the steps to build a simple static website, host it with GitHub pages for high availability for free2 and configured it to a custom domain. All of this with minimal effort and almost no knowledge of web development required. This is a good example of the magic of open source3.